Create Contact List
Purpose
Contact lists exist to be able to group people based on criteria, and create a selectable list for them. These lists can then be used in other areas of the system.
Instructions
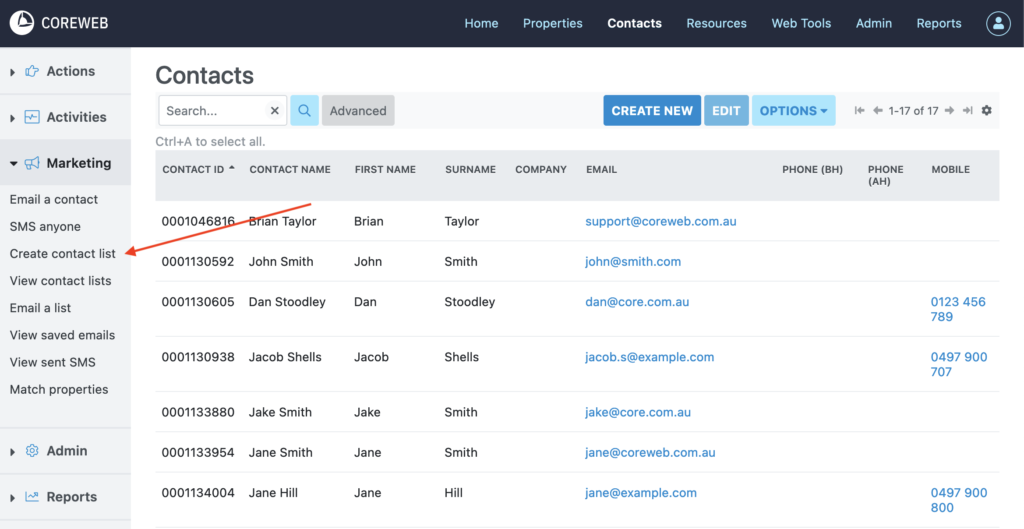
- Click on the Create Contact List option under the Marketing menu
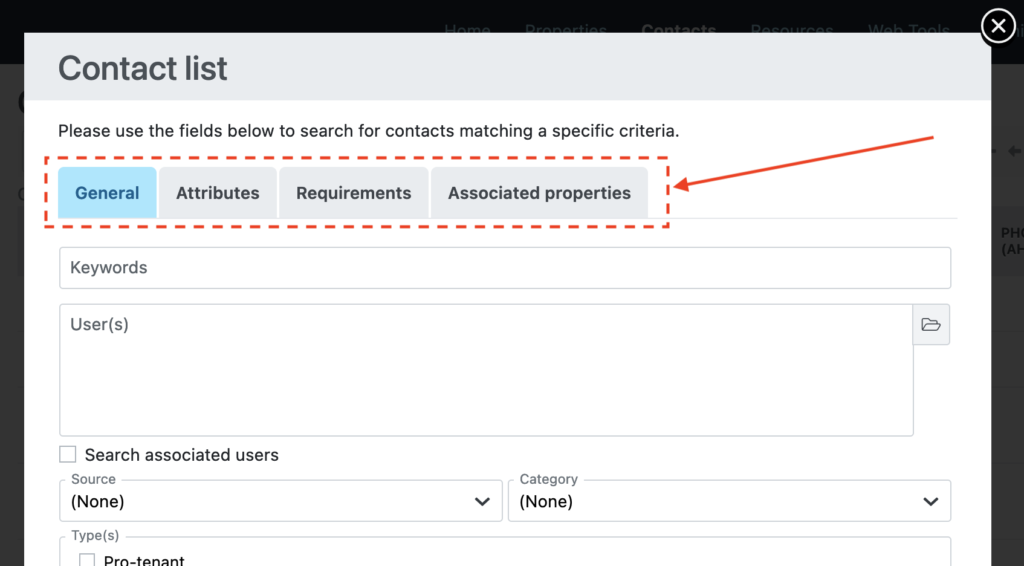
- You will be presented with the Contact list. From here you can select either the General, Attributes, Requirements, or Associated Properties tab to narrow your list down to just the Contacts you want to target.
- In this example we will select contacts with an Anniversary date set in 2019. Under the General tab, you will find “From anniversary month” and “To anniversary month”. Set the from month to January, the To month to December and set the year to 2019
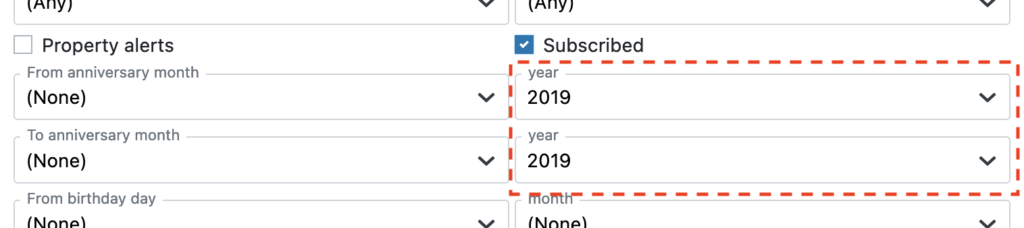
Note: It is good practice to select the “subscribed” box so that only Contacts that wish to receive emails from you receive them.
- Press Next at the bottom of the screen
- The next screen will give you the ability to name your contact list. Ensure you call it something memorable if it is to be used again. Here you also have the ability to manually add contacts that did not fit the criteria. Finally you are given a Contact summary at the bottom, showing you who matched your criteria. In this example we have two Contacts.
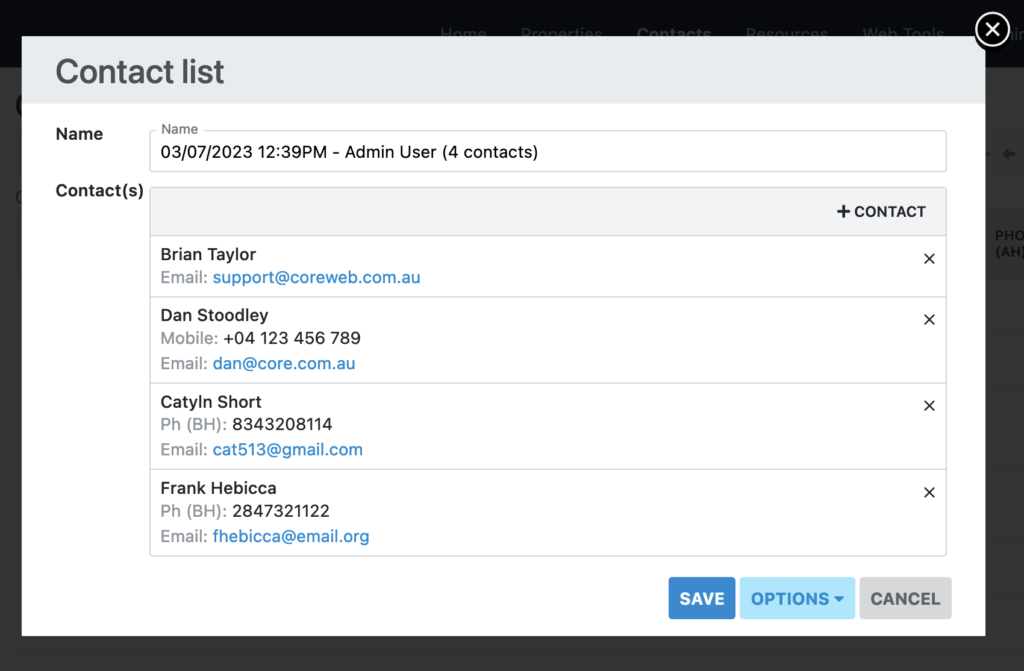
- Sanity check the list to ensure everything looks as it should, then press Save.
NOTE: It is important to know that a contact list is saved at that point in time. This means that if you were to add new Contacts to Core at a later date with an Anniversary Date in 2019 they would not be in this list. This function is to scan your data at this moment and create a list based on your criteria.