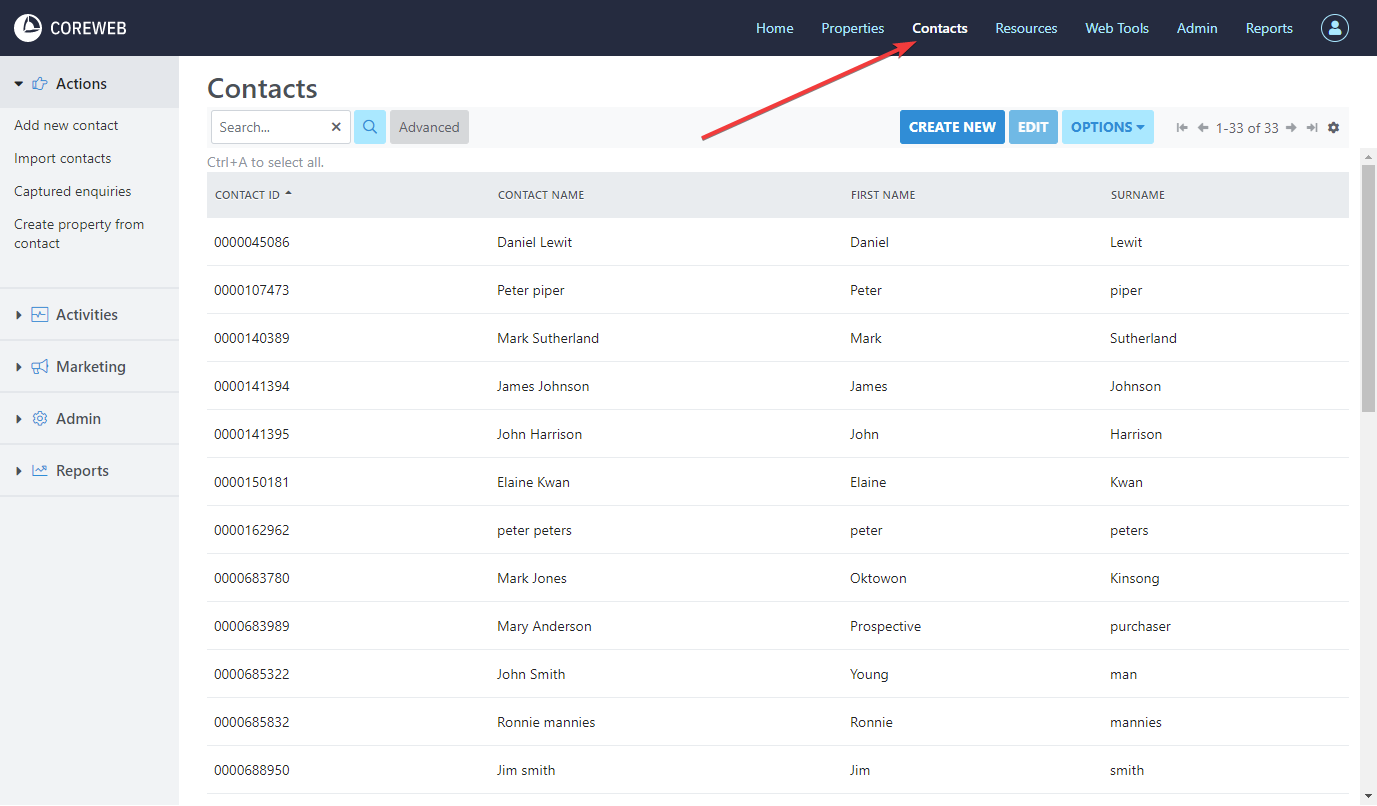
The Top Contacts Menu

Search, Advanced Search and Saved Searches
On the left hand side is the Search box with the option of Advanced functionality. Searching within the box will check the contacts for matching words. This box is typically used for typing a contact’s name, phone number, or Contact ID. An advanced search allows you to filter the Contact List based on selectable criteria such as the type of contact they are, their anniversary date, birthday, registered date and many more fields. Once you’ve chosen this criteria, hit OK and your Contact List will be filtered accordingly. Below is an example of searching for all Contacts looking for a 3 bedroom house with two bathrooms, and two car spaces.
Video:
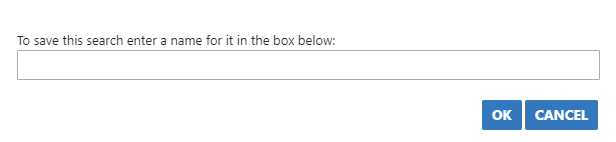
Finally, a Saved Search is one that you think you might use repeatedly. These can be named and saved via the Advanced section, then will appear in the Saved Searches dropdown
Create New, Edit and Options
On the right hand side of the Top Contacts Menu you have the ability to “Create New” contacts, this occurs in the same way as adding a new contact via the Action Menu. Here you can also Edit contacts after selecting them, or via the Options menu you can export the entire list as a CSV (spreadsheet)
Double Clicking A Contact
Details Tab
Purpose
To document the personal information relating to a contact. Predominantly Name, Address and methods of communication. From here you can subscribe them to your agency communications, set them to not receive SMS’s or archive them if you wish to delete (hide) the contact. This screen requires a Source – how the contact was found, and a Core User to add them.
Instructions
- Click on the details tab. You will see information already populated from when they were added. You can modify all of the fields on this screen
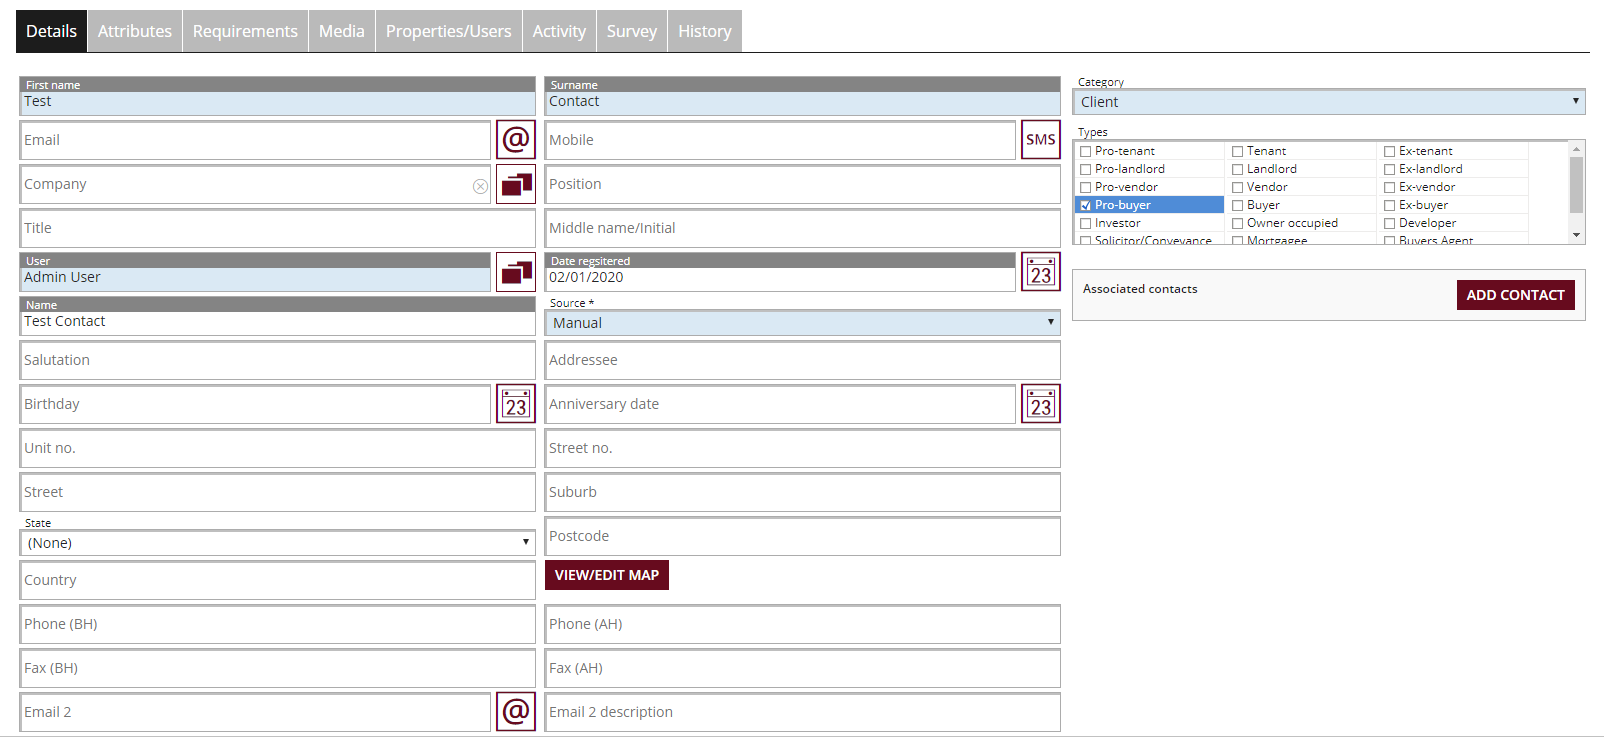
- Once finished editing, click Save if you wish to edit on another tab, or Save & Close to leave the screen.
Deleting/Removing/Archiving a Contact
You may wish to delete a Contact for a number of reasons. Due to the fact that the Core database contains complex links to many other areas, a Contact cannot be deleted but it can be hidden from view. The process to acheive this is simple, and is covered in the video below. Please note that if the particular cotact has too many links elsewhere, the system may warn you that it is not acheivable. Watch for any error messages as you perform the process
Video:
If you accidentally archive a contact, don’t worry – you can simply perform an advanced search that displays archived items. Find your contact, untick “Archive” and re-save to have them appear in the main list again. Shown below:
Video:

Attributes Tab
Purpose
To add custom, searchable criteria that you can mass apply to groups of users
Instructions
- Click the attributes tab to see what is associate with the contact. You can create multiple if you wish
- See the video below for example attribute creation. It is important to know that you are creating an attribute name or group, and secondly the attributes themselves. An attribute needs both
- Once finished editing, click Save if you wish to edit on another tab, or Save & Close to leave the screen.
Requirements Tab
Purpose
To associate property criteria with a prospective buyer so that they can be filtered easily for future communications
Instructions
- A detailed explanation can be found in the Core Web – Contacts – Activites section, from Step 2
Media Tab
Purpose
Store software files relevant to the contact here.
Instructions
- Clicking on the Media tab will give you a list of all files stored against this contact. Highlighting one gives you the ability to edit, delete or email the file.
- Click Add Document(s)
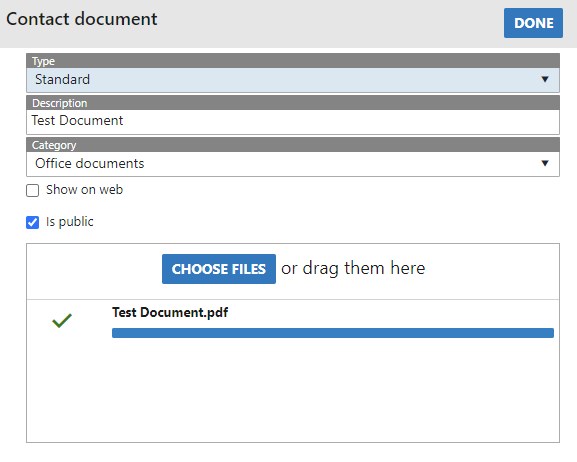
- Here you can attach the file of your choosing. Add it against a category (folder) if you need to. This will help with filing and keeping your repository in order.
- Set all of the items to your need then press Done
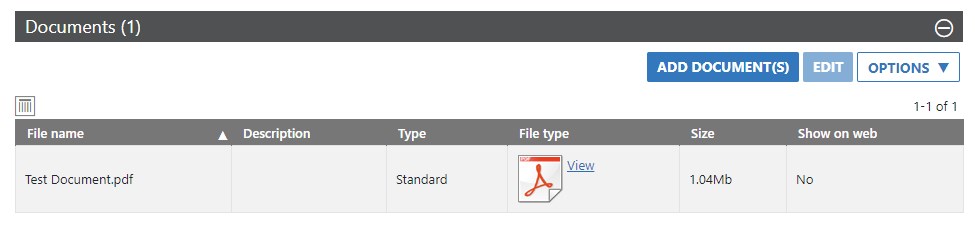
- Back at the main window you will now see your file listed.
Properties/Users Tab
Purpose
To associate Properties, Core Users, or Teams with the contact
Instructions
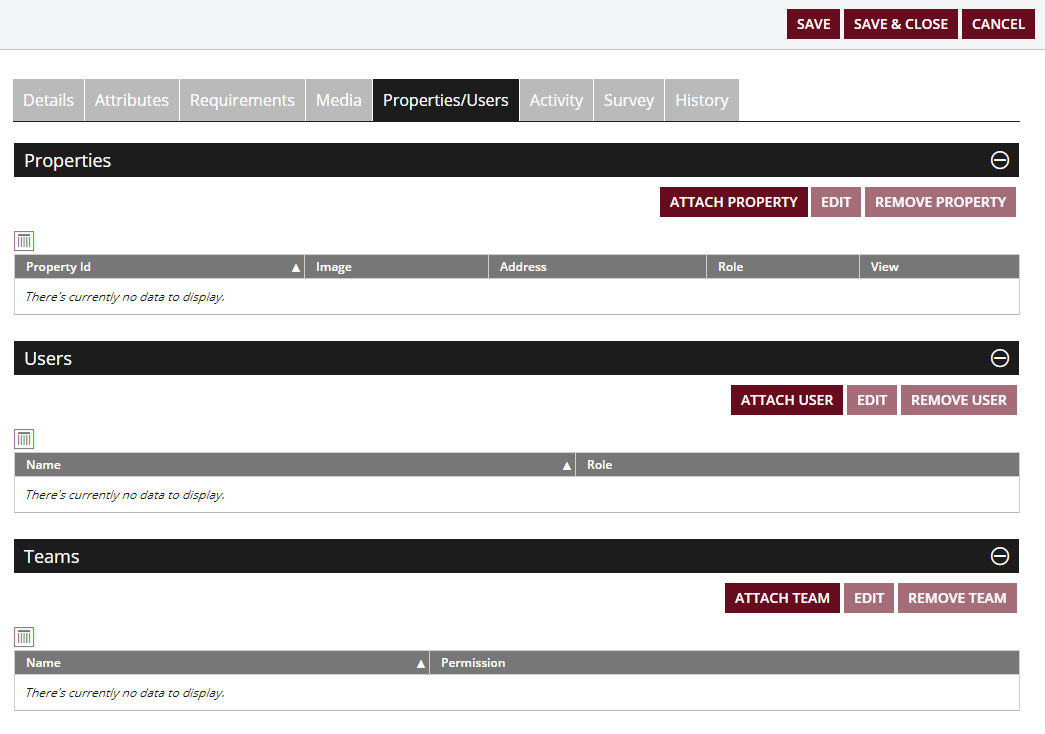
- Click the Properties/Users tab. You will see the screen below. Choose the Property, User or Team section you wish to change, then either attach, edit or remove information as appropriate.
- See three videos below with an example of adding each type. Note that it is likely you’ll need to have set up selectable criteria to be able to choose in each of these steps. ie to associate a Team to the contact, a Team would need to have been created prior to this.
Properties
Ensure the property you wish to attach already exists. If not, a guide to adding a property can be found here
Users
Preconfigure in Admin – User Admin – User Roles (Contact)
Teams
Preconfigure in Admin – User Admin – Teams
Activity Tab
Purpose
The activity tab is a very powerful area as it shows you everything attached to a contact from all of the different areas within the Core system. The functionality is essentially identical to the Activity tab of a property. Listed items include:
- Open homes attended
- Viewings – A list of all viewings the contact has had
- Registered to Bid – A list of all bidding registrations by the contact
- Enquiries – A list of enquiries placed by the contact
- Contracts issued – A list of all contracts related to the contact
- Offers – A list of offers that the contact has made
- Property inspections – Any property inspections that have been made by the contact
- Notes – A notes section for anything you wish to document that don’t fit into other areas
- Letters – Any documents or letters associated with the contact. This has a variety of customizable uses.
- Tasks – Any tasks that have been set for the contact
- Diary – Any diary items relating to the contact
Not only are you able to see all of this activity in one screen, you can add to these individual items here as well
Instructions
- Click the Activity tab. You will see the screen below. Expand the section you want, then double click the items to open it. In this example the contact has registered to bid on an auction.
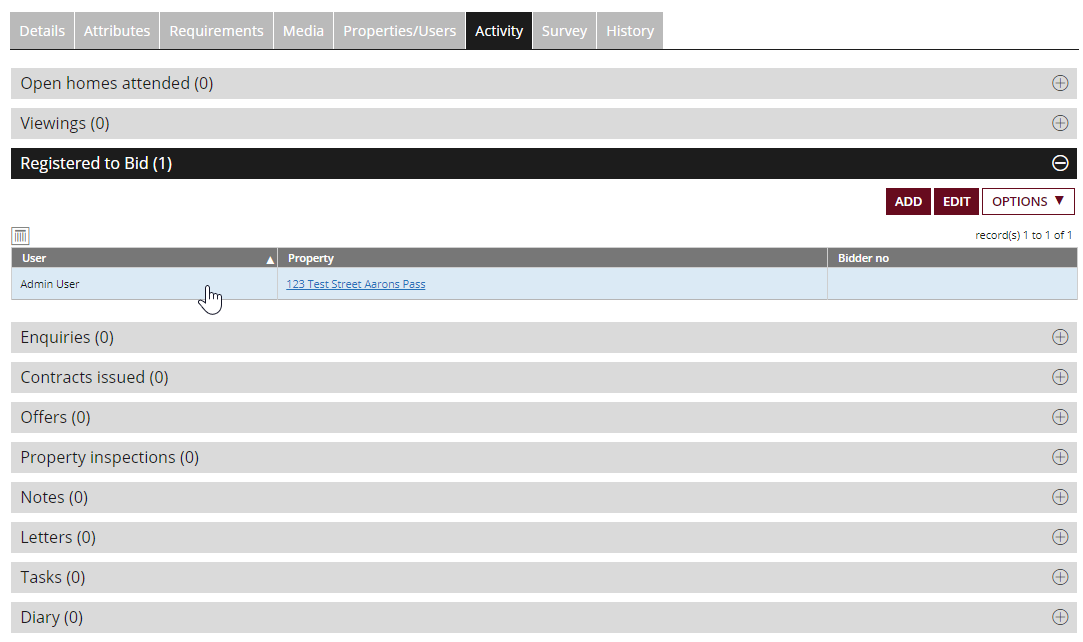
- Once done you can press Save to remain in he Activity tab or Save & Close to exit
History Tab
Purpose
The history section of a Contact shows you a chronological ordered list of the some important key items. They are:
Email Sent – A list of emails that have been sent to this Contact through Core. Here you can see the date, who sent the email, the actual email itself (hyperlinked), which template was used and if there were any errors.
SMS’s Sent – A list of SMS’s sent to the Contact through Core. If you use Core’s number to send the SMS, responses can also be received by the system.
SMS’s Received – A list of SMS’s that have been received into Core that are from the Contact. There is a reply button here to respond to any SMS’s that have come in.
Contact Log – A log of historical system items relating to the Contact. The date they were added to Core is an example of this.
Instructions
- As this area is purely visual, there are no instructions. Simply expand the section you wish to view