System Roles
Purpose
This area is designed to let you give different Users different responsibilities in the system. You may want to allow only certain people to be able to do certain things – If so, you need to configure it in the System Roles section. You can Create, Edit or Delete Roles
Instructions
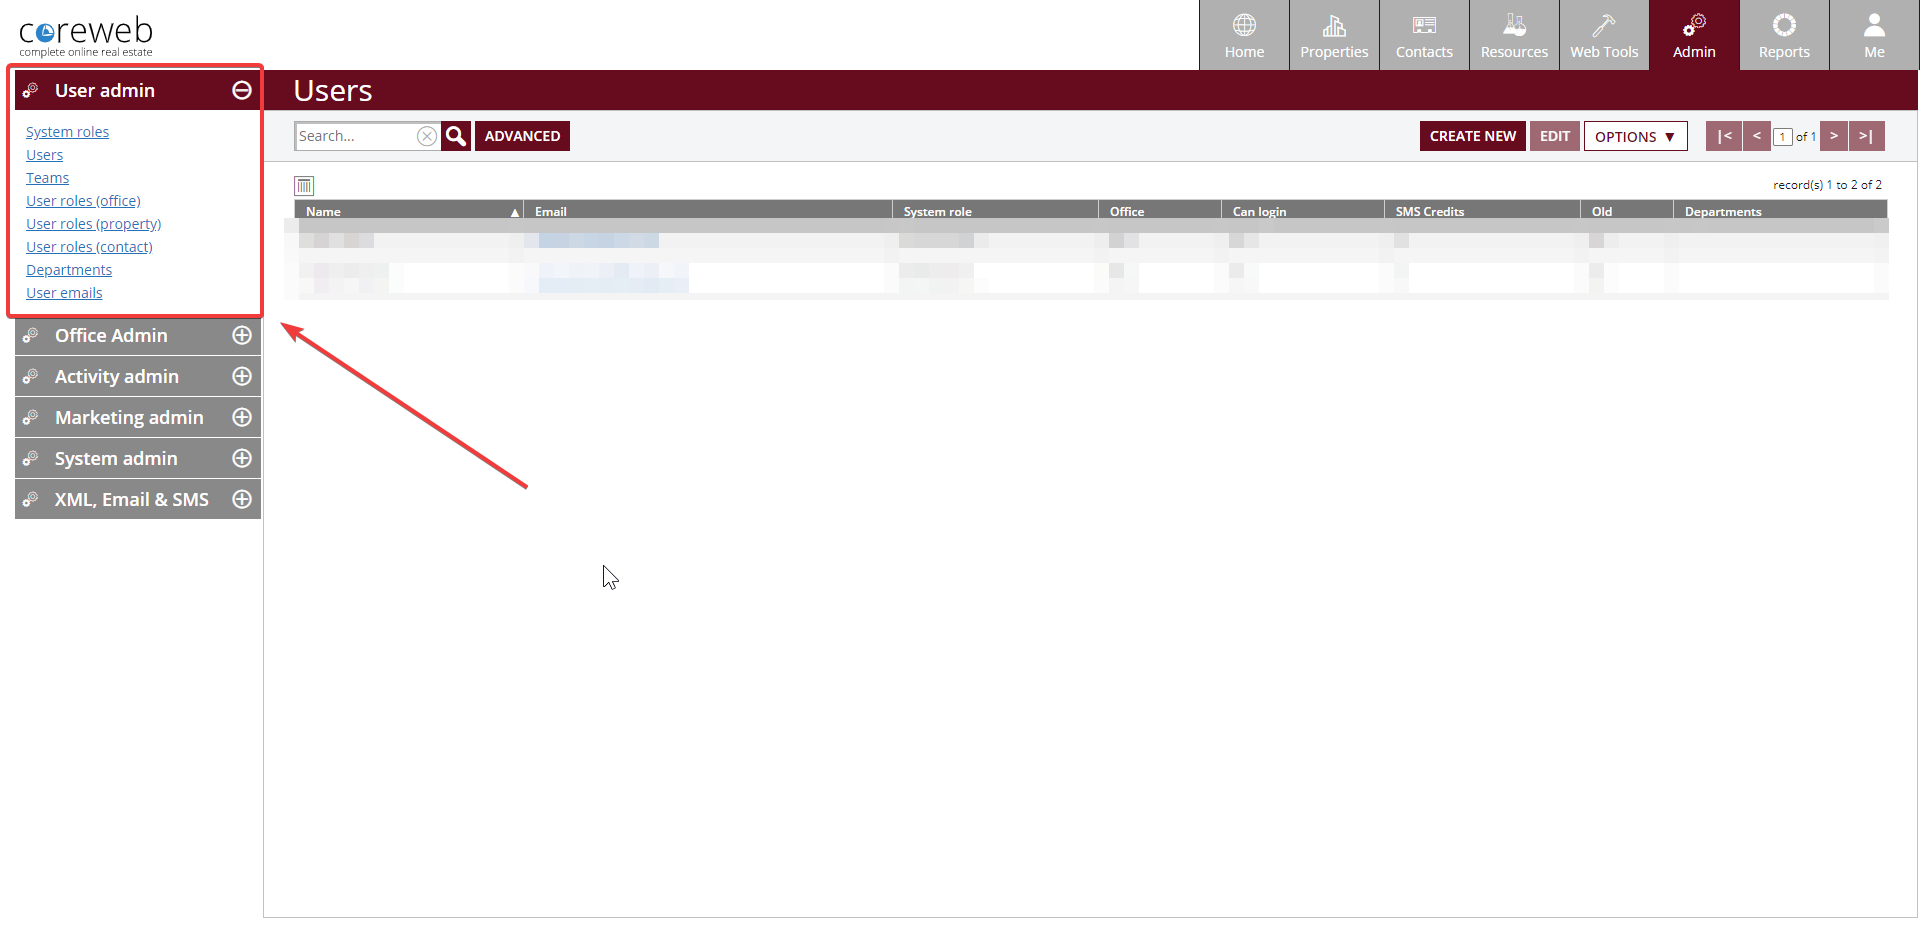
- Click System Roles. A screen similar to the below will appear:
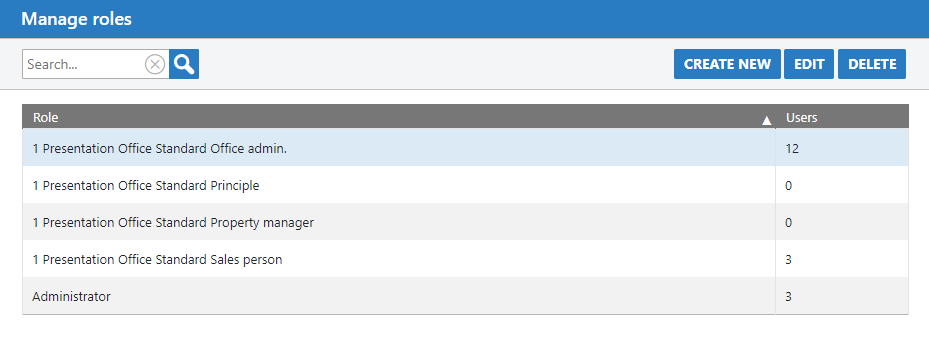
- This example shows a number of roles already created. Clicking “Create New” allows you to select an existing roles as a start point, or leaving it on “none” will create a new one from scratch.Either way, you’ll end up at the next screen as below:
- Start by giving this role a name. Then, you can select the different types of Property that the Users can use and then finally all of the elements that you can either allow users to View (or use) and Edit. Some options have a Yes or No choice, while others can limit down to that particular User’s own items of the entire agency. An example of this is Properties

- Once you have set your User’s access as desired you can press Save. This now allows you to associate USers with the role you have just created, covered in the next section.
Users
Purpose
One of the key elements of the system. Users exist to be associated with Properties and Contacts. A User can exist without being able to log in. The point of this would be to associate items with them for record keeping purposes.
Instructions
- Click on the Users heading. Your current list of Users will be displayed, similarly to below:
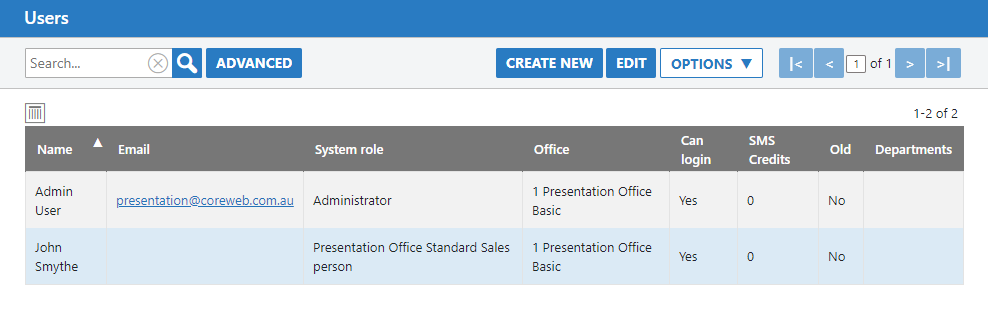
- Here you can Create New users, edit them and export a CSV of the list if needed. In this example we’ll create a new user. Click Create New.
- Enter in the First Name and Last Name (Surname) of your new user. Enter their email address and any other identifying information you’d like to record.
- The most important fields here are “Can Log In” which determines them being able to use the system, their password and the system role (as covered in the above part of this guide) If you set this item you must also create a password for them. This can be changed by the User after login.
- In this screen you can also configure Enquiry Capture for them by using the tickbox to enable it, and the system generated email below that which relates specifically to Domain.
- Once you have entered all of the needed information press Save.
Teams
Purpose
The Teams function is to allow you to group Users together in any way you wish. Once a team has been created, you have the ability to associate it with certain features of the Core system.
Instructions
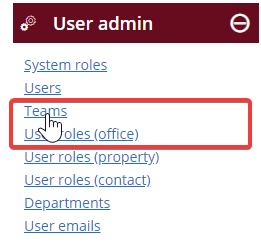
- Click on the Teams link in the User Admin section
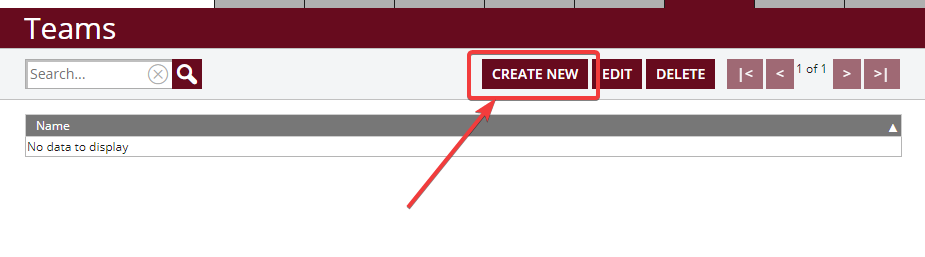
- You will be presented with a list of your existing teams if you have any. You can edit or delete, or create a new team if you have none. Click Create New
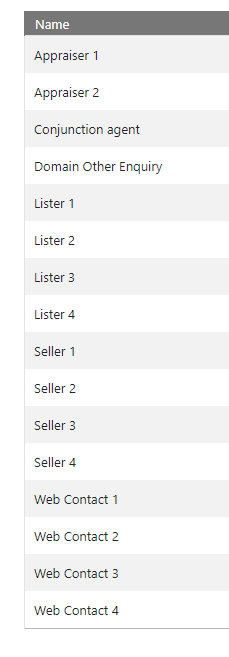
- Next, give your team a name that is meaningful to you, and the other Core users. Click the select box on the right to choose the users you wish to be part of the team. Once done, press Save

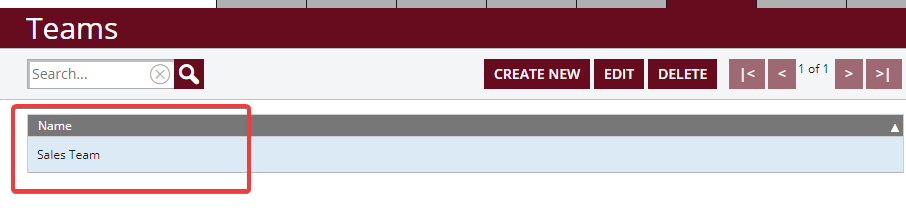
- Your new team will now be listed back at the Teams main page. See below:
User Roles (Office) – To Be Added
Purpose
Purpose goes here
Instructions
- Instructions go here
User Roles (Property)
Purpose
This section is to allow you to customise the list of roles that a User can be assigned. There are quite a number of roles that are pre-defined here so that the system can work correctly with the major portals you might connect with. These system roles cannot be edited or deleted.
Instructions
- Click on User Roles (Property) The list of system roles will appear, plus any you’ve previously added.
- Click Create New and give your new role a name. This name identifies it in any places that it may be selected later. In this example we’ll add a “Sales Admin” role

- Once entered, press Save. Your new role will appear in the roles list, and be available as a selectable option in any Property role related chooser items.
User Roles (Contact) – To Be Added
Purpose
This tool allows you to create custom roles that can be associated with Contacts. This would be used in a situation where you wanted to be able to classify differ
Instructions
Instructions go here
Departments – To Be Added
Purpose
Purpose goes here
Instructions
Instructions go here
User Emails
Purpose
This is an important tool that lets you communicate with others in your organisation via email. Here you can use standard text and templates in the same way you would with a Contact. The result is a professional, visually consistent communication.
Instructions
- Click “User Emails” You will be taken to a screen similar to below:
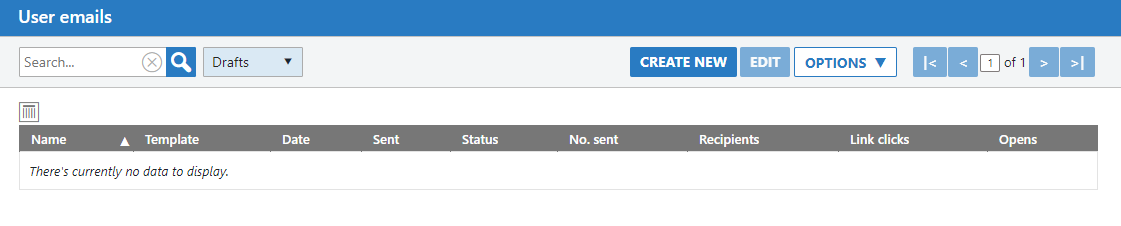
- In this example we’re using an office that has not sent any User Emails before. From here you can use the Create New button to start a new communication
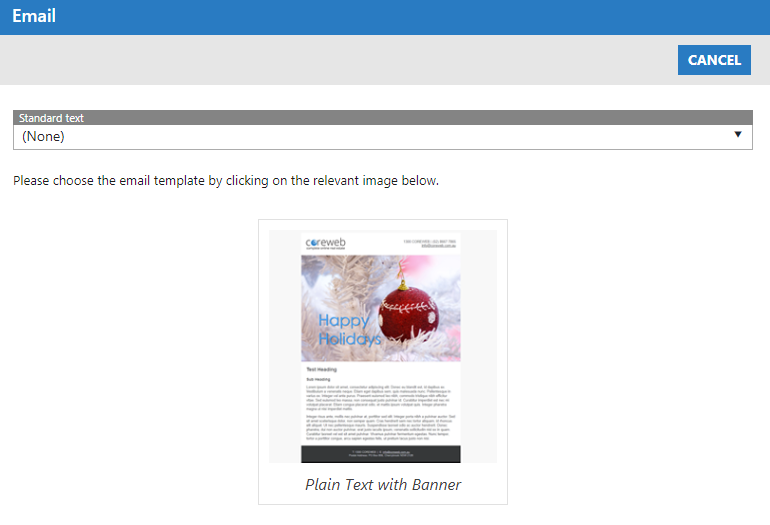
- Choose your standard text (if any) and click on a template to use.
- The next screen that appears allow you to choose your User recipients, enter your content, headings etc. The fact that you are picking from Users here is the only real thing that differentiates this from a Contact email.
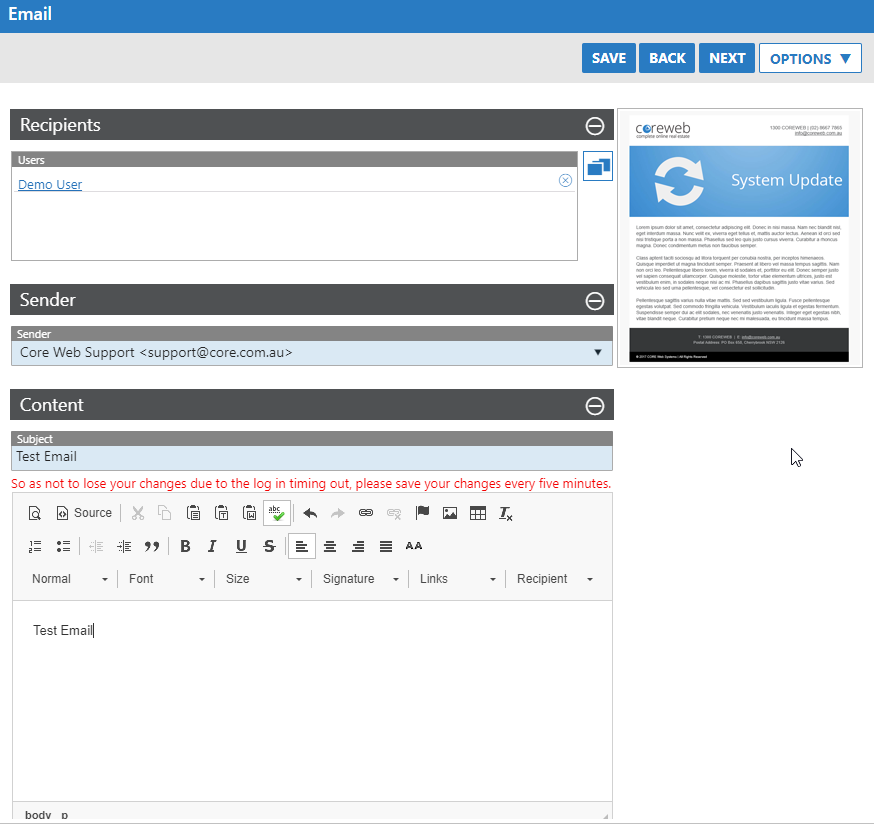
- Expand out the Sender field, and the Content field to craft your email. Here you can also press the Preview button to see what your email looks like at this point in time. Once done, press Next
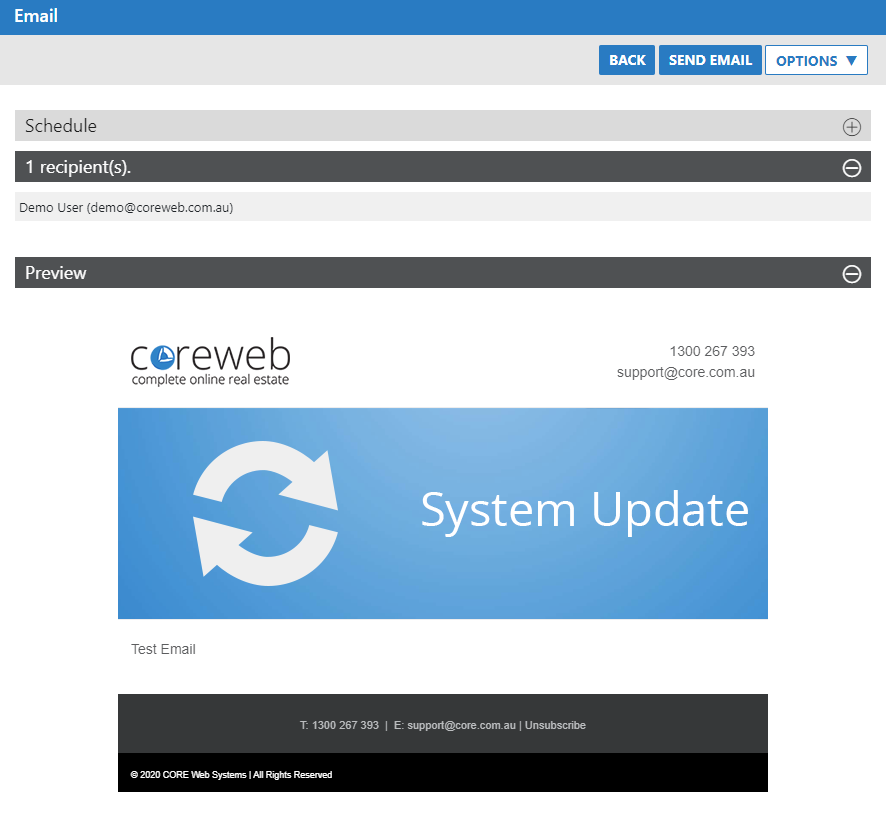
- On this screen you are presented with a summary of your work including confirmation of the recipients, and a preview of the email itself. If you wish to send this email at a certain time you can use the Schedule option and can also send a test to yourself using the “Send Test” button under the Options menu at the top of the screen.
- Once you are happy with everything and are ready, press Send Email.
- After the email has been queued, then sent you will have access to some powerful tools that help you monitor it’s success. Find your email in the Sent queue, highlight is and click the Options Menu:
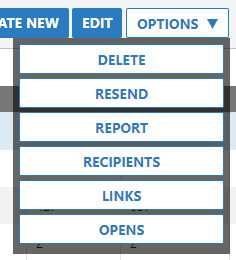
A breakdown of these options is as follows:
- Delete – Deletes the email
- Resend – Uses the email’s configuration to resend. This takes you back through the wizard and allows you to make changes to it. This is particularly useful if you want to send an email that is similar a number of times and saves you from spending the time setting it up for each use.
- Report – Displays a popup window report of who has opened the email, how many times they opened it, whether there were any errors and how many items inside the email were clicked.
- Recipients – Displays a popup window list of the email’s recipients.
- Links – A popup window with all of the links used inside the email and a record of how many clicks per item. This is a smaller version of the “Report” option.
- Opens – A popup window list of the contacts that the email was sent to and how many times they’ve opened it. This is a smaller version of the “Report” option.
- Export CSV – This gives you an ability to Export as a CSV the entire view of emails on your screen. eg:
