Introduction
Similarly to Properties, this section gives you quick and easy access to your Core contacts. Here you do have the ability to add or edit contact information, but also associate them with enquiries, tasks, diary entries and see any viewings or offers linked to them. It is a good idea to keep your contact information up to date so that your marketing strategies hit their mark.
Instructions
Adding a Contact
Adding a contact in this manner assumes they do not relate to an OFI or Auction. When wanting to associate a contact with an OFI or Auction it is best to add them through their own respective menu options
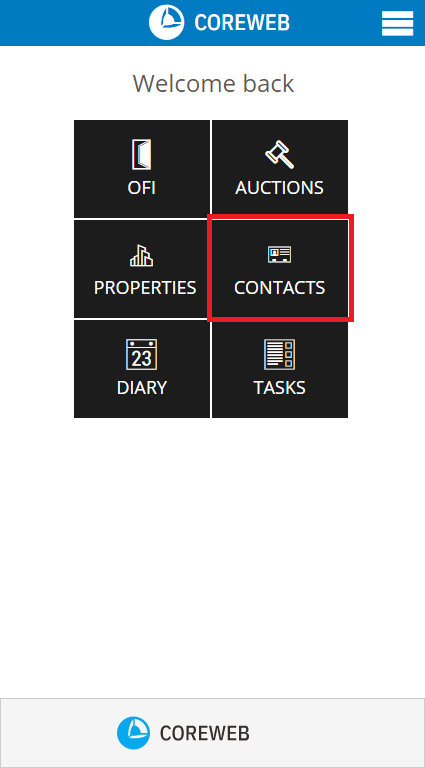
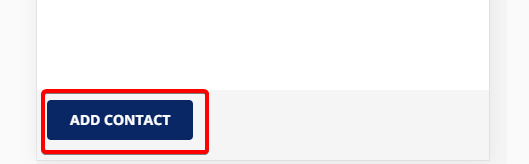
- To add a new contact, press the Contacts Button, then the Add Contact button at the bottom left of screen
- This screen allows you to enter the details of the contact. You are able to save a Contact with as little a their Name. Screenshot below gives an example of the types of information you can capture here if you wish.
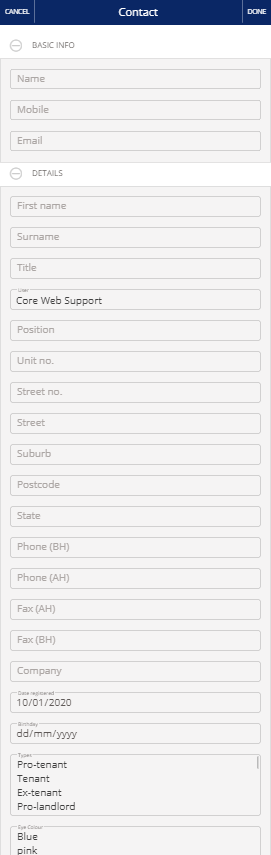
- Once you havve captured what you need. Press Done at the top right of screen, or cancel if you do not wish to save.
Viewing and Editing a Contact
- Pressing the Contacts button takes you to a list of you agency contacts. You can use the Search field, including the advanced options to find who you are looking for. Advanced options below:
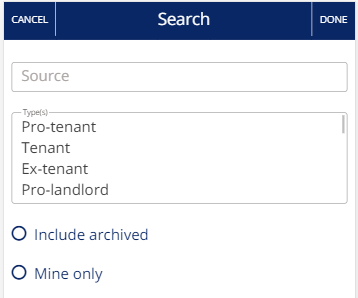
- Once you have selected your advanced options, use the Search field. Once your result is found, press on them to view and/or edit them or swipe left delete them. The edit button also appears via a swipe left. The screen below is the view screen
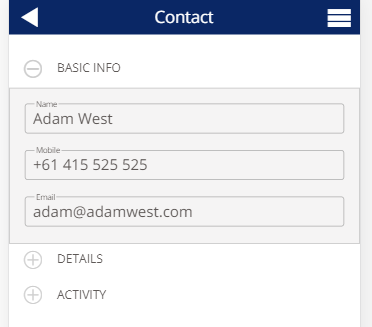
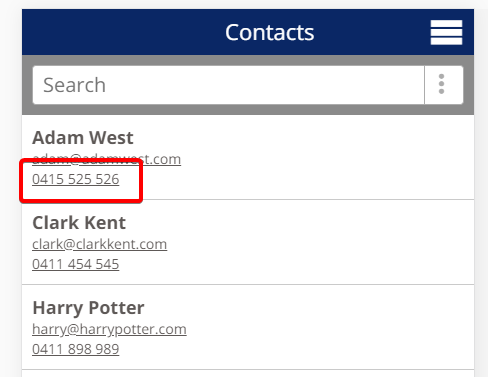
- Here we can change a detail relating to the contact eg their Mobile number. Select the field, change the info and press the arrow top left to save and back out. Our contact’s number has now changed
Viewing and Adding Activity To A Contact
- Via the contacts screen, either select an existing contact, or add a new one.
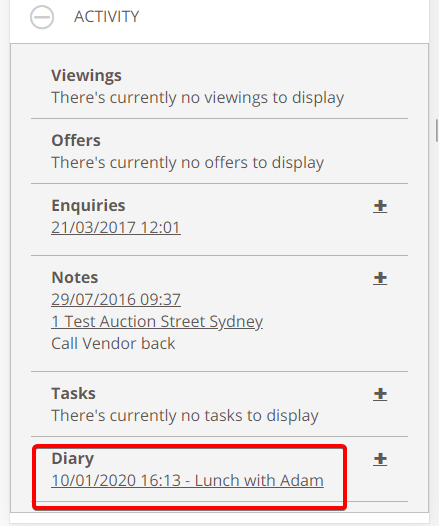
- Press the + symbol next to Activities to list the available options. Here you will see any previous activity associated with the Contact you have selected.
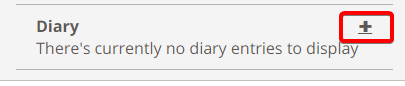
- In this example we will add a Diary entry for our Contact. Press the + symbol next to Diary to add the activity
- On the next screen, enter the details of your Diary entry. Think of this as a calendar item with a date, start and finish time. The “Diary Type” field must be set up through the web interface prior to being able to add mobile entries.
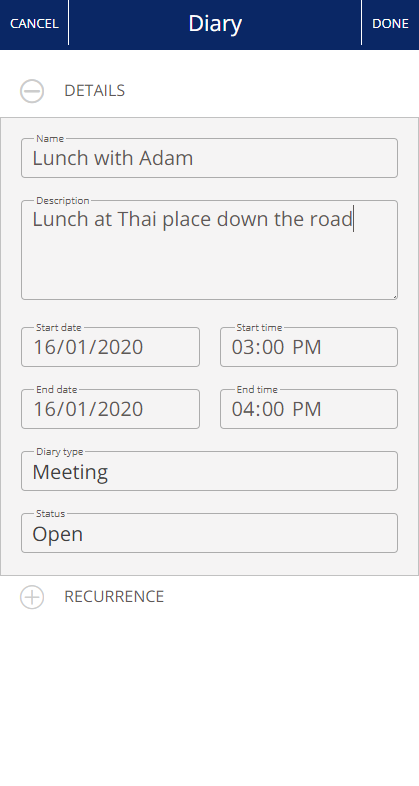
- Once you have filled out the details, press Done.
- Your Diary entry now appears under the Contact’s list of Activities. You can press on the underlined section to view the details of the item