Purpose
This function gives you the freedom to add extra fields to a Contact that are not there by default. This allows you to completely customize the data you are able to collect, categorize and report on.
Instructions
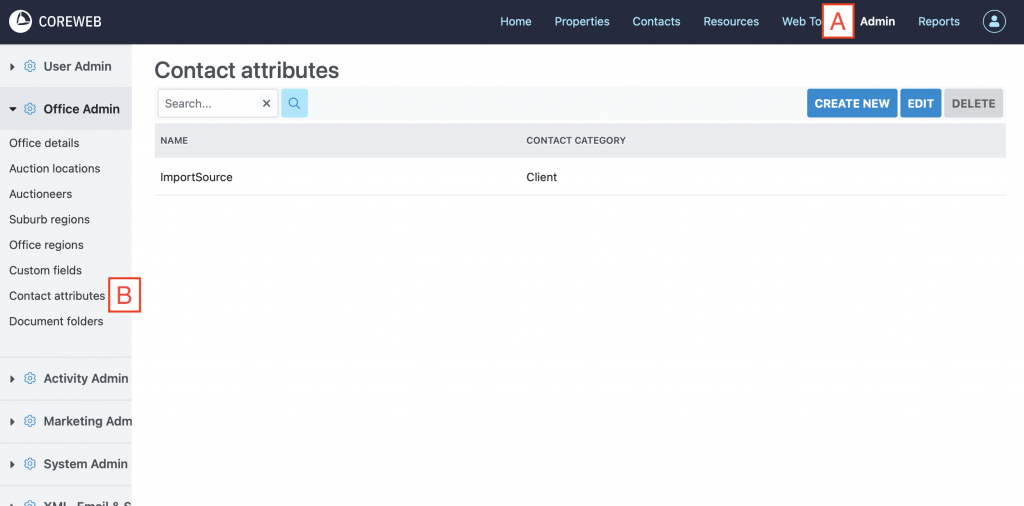
- Visit Admin > Office Admin > Contact Attributes. You will see a screen similar to below:
- To create a new attribute, click Create New
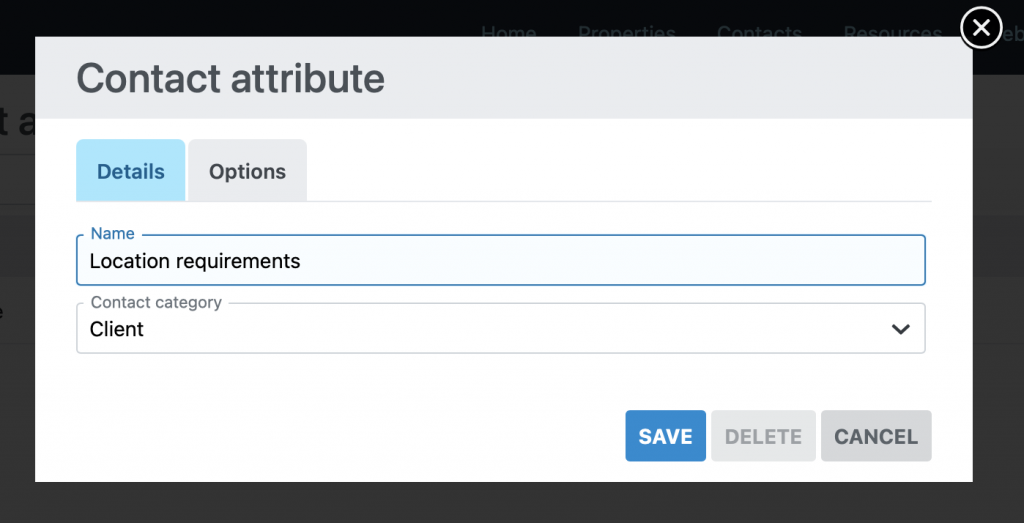
- Next, give your new attribute a name in the Name field. This will help you to identify it in future. The name should be considered a “bucket” for the attributes to live in that will be created next. In this example we create an attribute to capture what location features a prospective buyer is interested in. We will name it “Location requirements”.
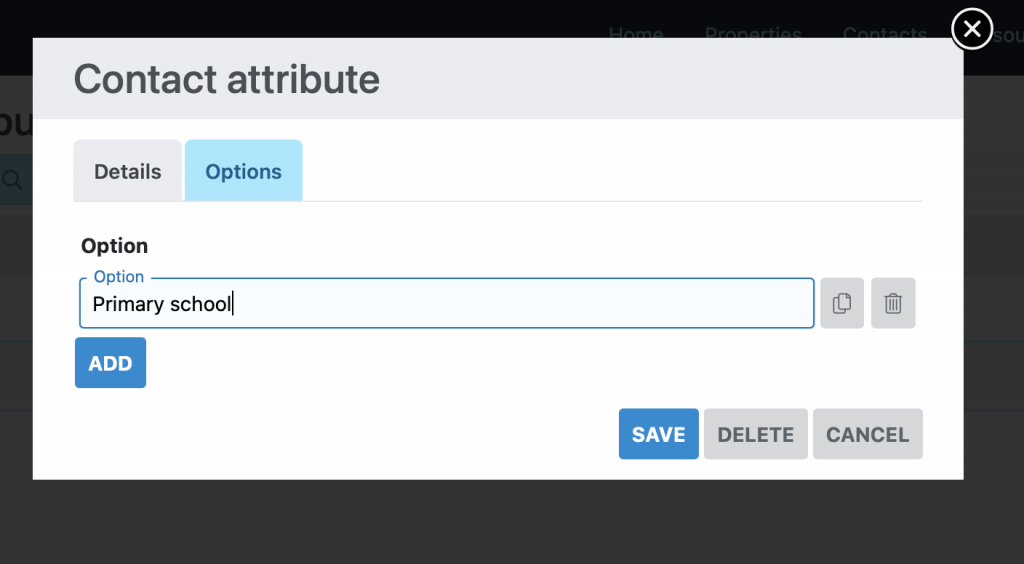
- Next we are ready to add our attributes. Press the Options tab up the top
- You can now add in your options. See below in our example we’ve added “Primary school” as the first option. Click ADD to add as many options as you require.
- After you have added all of the options you’d like, scroll down and press Save.
- Your new attribute will now be showing back at the main Contact Attributes screen
- Now that you have done this, your new options will appear as extra options for Contacts.
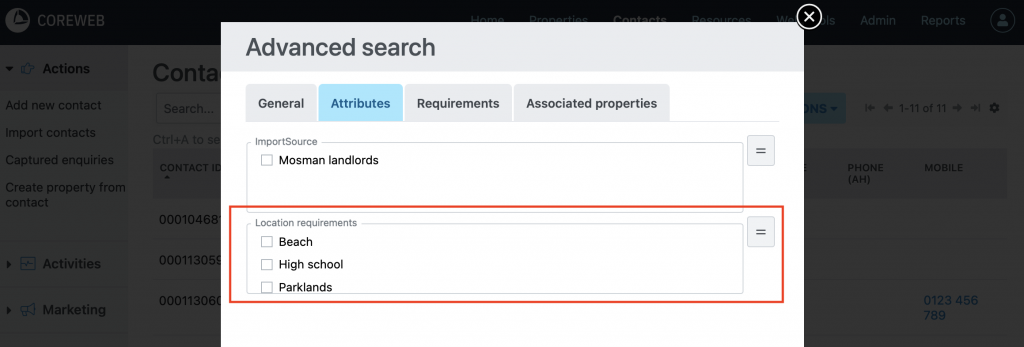
- To start using them, simply open a Contact and click on the Attributes tab. Your new attributes will appear here, as below:

- Once clicked and saved you can then perform advanced searches using your attributes to help you find the Contact you need.